Template parts are small sections (i.e., parts) that you can include in top-level templates. Following the DRY (Don’t Repeat Yourself) principle, they are generally used as sections that need to be reused across multiple templates. Instead of writing the code multiple times, you can break it apart into a single file and include it when needed.
Because this chapter is focused on theme.json, the goal of this document is to explain how to register template parts within the theme.json file. You can dive more deeply into templates and template parts within the Templates chapter.
In theme.json, you can register additional metadata for template parts, such as the title and area the part is assigned to.
Registering template parts
Technically, you can use custom template parts without ever registering them via theme.json. But registering them has some distinct advantages:
- You can give the part a translatable title that is more appealing in the user interface.
- You can assign each part to an area, creating a nicer user experience in the Site Editor.
- It plays more nicely with plugins, style variations, and child themes that may grab, filter, or otherwise use the registered metadata in some way.
To register template parts, you must pass an array of objects to the templateParts property in theme.json. Each object in the array accepts three key/value pairs:
area: The area that the template part belongs to. The default options areheader,footer, anduncategorized. You can also assign it to any custom area.name: The filename of your template part without the extension.title: A human-readable title for your template, which may be translated.
WordPress will look for template parts in the theme’s /parts folder. Therefore, if you register a template part with the name of `example`, you must also have a /parts/example.html file in your theme.
You will learn more about template part areas in the Templates chapter. Also, check out the Upgrading the site-editing experience with custom template part areas tutorial on the WordPress Developer Blog for an in-depth walkthrough of creating custom areas.
Registering a template part
The two most common template parts that any theme will register are for a site header and footer. This is also why WordPress has the default areas of header and footer. You are not required to use these parts or areas, but they are pretty much standard sections for nearly all websites.
For this exercise, let’s register them both. First, add a couple of empty files named header.html and footer.html in your theme’s /parts folder if they do not already exist. You’ll add some block code to them in the next step.
Now register those template parts in theme.json:
{
	"version": 2,
	"templateParts": [
		{
			"area": "header",
			"name": "header",
			"title": "Header"
		},
		{
			"area": "footer",
			"name": "footer",
			"title": "Footer"
		}
	]
}
It can be confusing when both the area and name values match. That’s not always the case, but is often how things look when dealing with the header and footer.
Some theme authors prefer to name the header and footer template parts site-header and site-footer to better differentiate them. Feel free to do that if it makes more sense to you. Or rename them to anything you want.
You are not limited to these two common template parts. You can add as many parts as you need for your theme project.
Building a template part
All template parts should be placed in your theme’s /parts folder (WordPress also recognizes the /template-parts folder for backwards compatibility). So you will now be editing the /parts/header.html and /parts/footer.html files.
You will learn more about building custom template parts in the Templates chapter. For the purposes of this documentation, just consider the following code snippets as examples that you can customize.
In your /parts/header.html file, add this code:
<!-- wp:group {"style":{"spacing":{"padding":{"top":"2rem","bottom":"2rem","right":"2rem","left":"2rem"}}},"layout":{"type":"default"}} -->
<div class="wp-block-group" style="padding-top:2rem;padding-right:2rem;padding-bottom:2rem;padding-left:2rem">
	<!-- wp:group {"layout":{"type":"flex","justifyContent":"space-between"}} -->
	<div class="wp-block-group">
		<!-- wp:site-title /-->
		<!-- wp:navigation {"icon":"menu","layout":{"type":"flex","setCascadingProperties":true,"justifyContent":"right"}} /-->
	</div>
	<!-- /wp:group -->
</div>
<!-- /wp:group -->
Then add this code to your /parts/footer.html file:
<!-- wp:group {"style":{"spacing":{"padding":{"top":"2rem","right":"2rem","bottom":"2rem","left":"2rem"}}}} -->
<div class="wp-block-group" style="padding-top:2rem;padding-right:2rem;padding-bottom:2rem;padding-left:2rem">

	<!-- wp:group {"align":"wide","style":{"spacing":{"blockGap":"0"}},"layout":{"type":"flex","orientation":"vertical","justifyContent":"center"}} -->
	<div class="wp-block-group alignwide">
		<!-- wp:site-title {"level":0,"isLink":false,"className":"is-style-normalize"} /-->

		<!-- wp:paragraph -->
			<p>Powered by WordPress.</p>
		<!-- /wp:paragraph -->
	</div>
	<!-- /wp:group -->

</div>
<!-- /wp:group -->
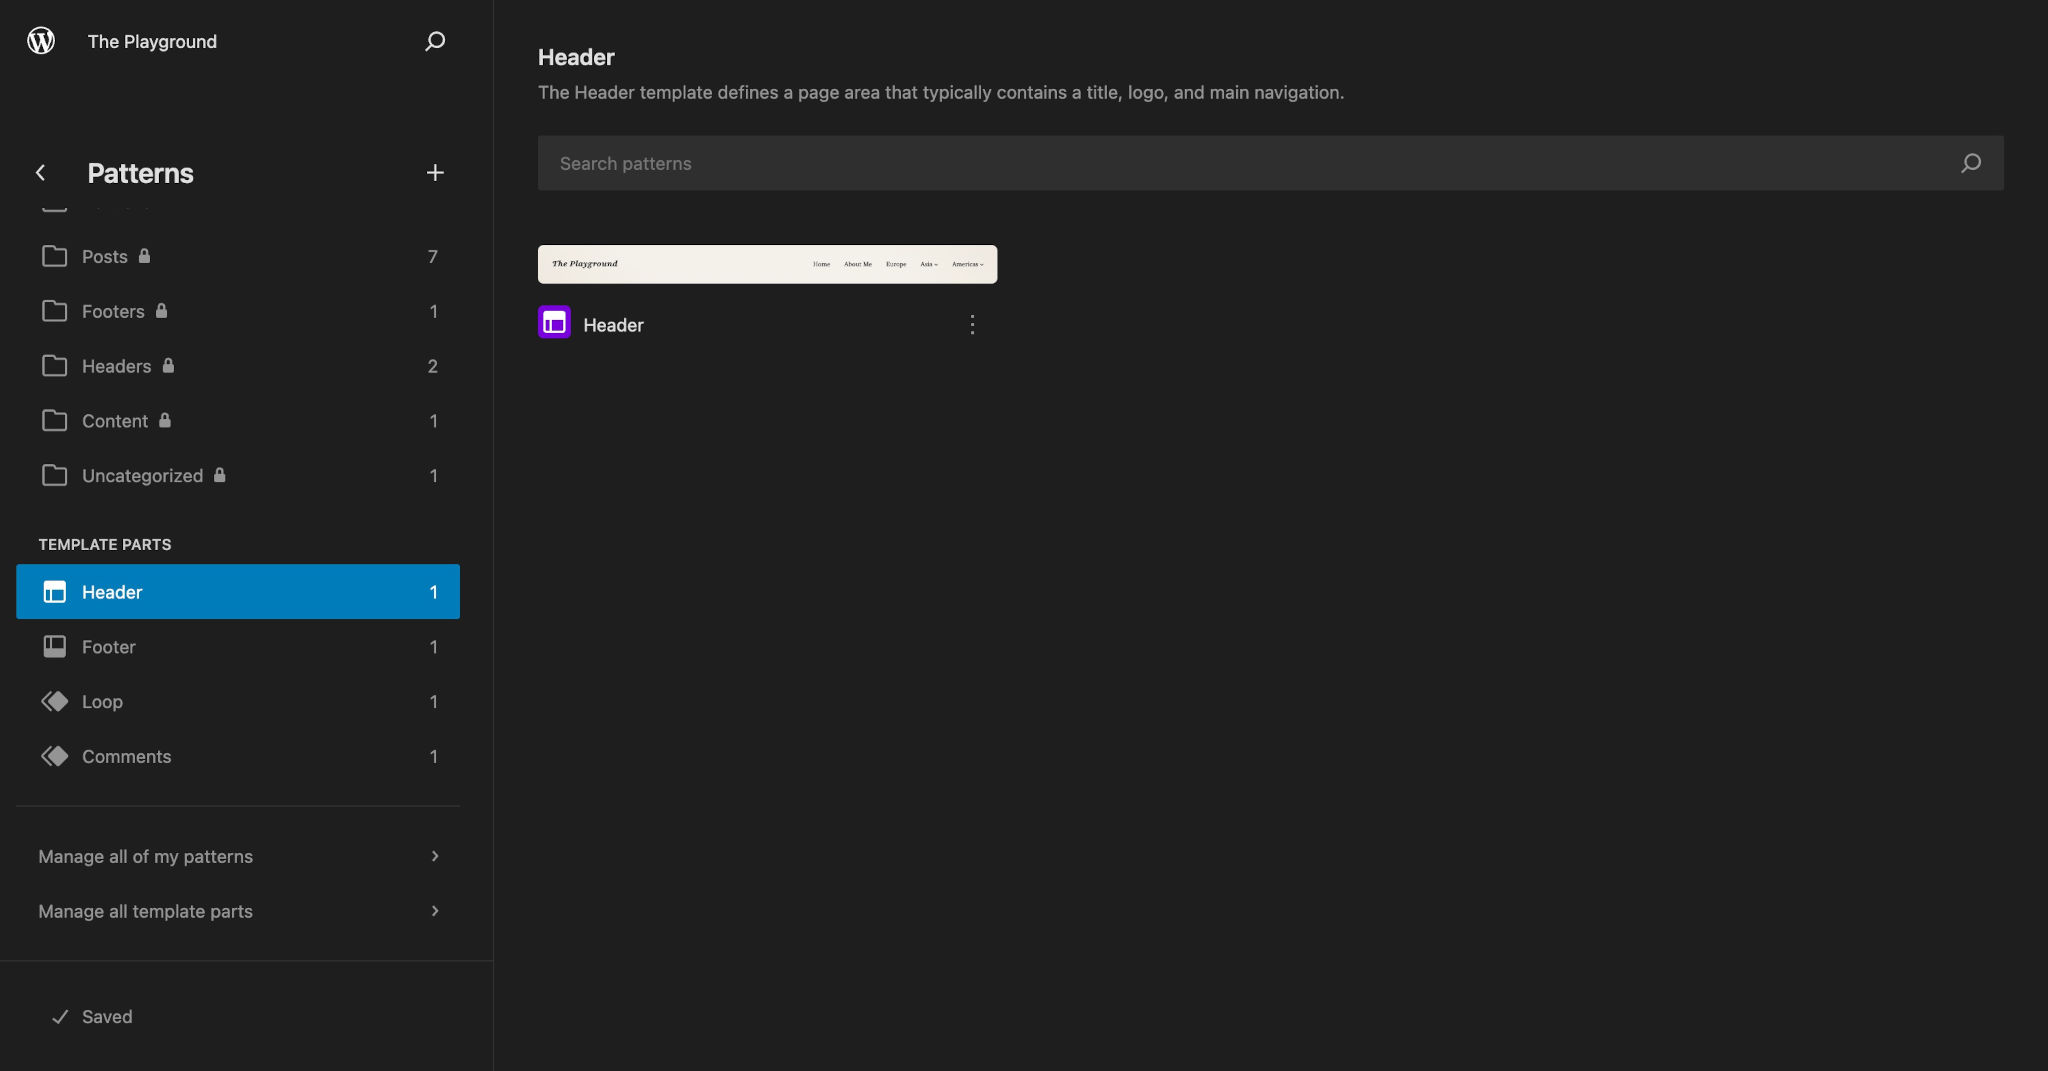
Now go to Appearance > Editor in your WordPress admin and look at the Patterns > Template Parts section. You should see both the Header and Footer areas listed with your custom template parts:

Including a template part
Creating template part files and registering them in theme.json does not mean that your parts will automatically appear on the site. Because they are only parts, you must also include them inside of a template.
Remember, you’ll learn more about creating templates in the Templates documentation if you are not already familiar with them. For now, you just need to test how the registration process works.
To include a template part in a top-level template, you must use the Template Part block. The basic markup for this block is:
<!-- wp:template-part {"slug":"your-part-slug"} /-->So open one of the template files from your theme’s /templates folder. Your theme should at least have an index.html template there, but you can test with any file.
Now add the calls to the wp:template-part block as shown here:
<!-- wp:template-part {"slug":"header","tagName":"header"} /-->

<!-- Other block markup goes here. -->

<!-- wp:template-part {"slug":"footer","tagName":"footer"} /-->
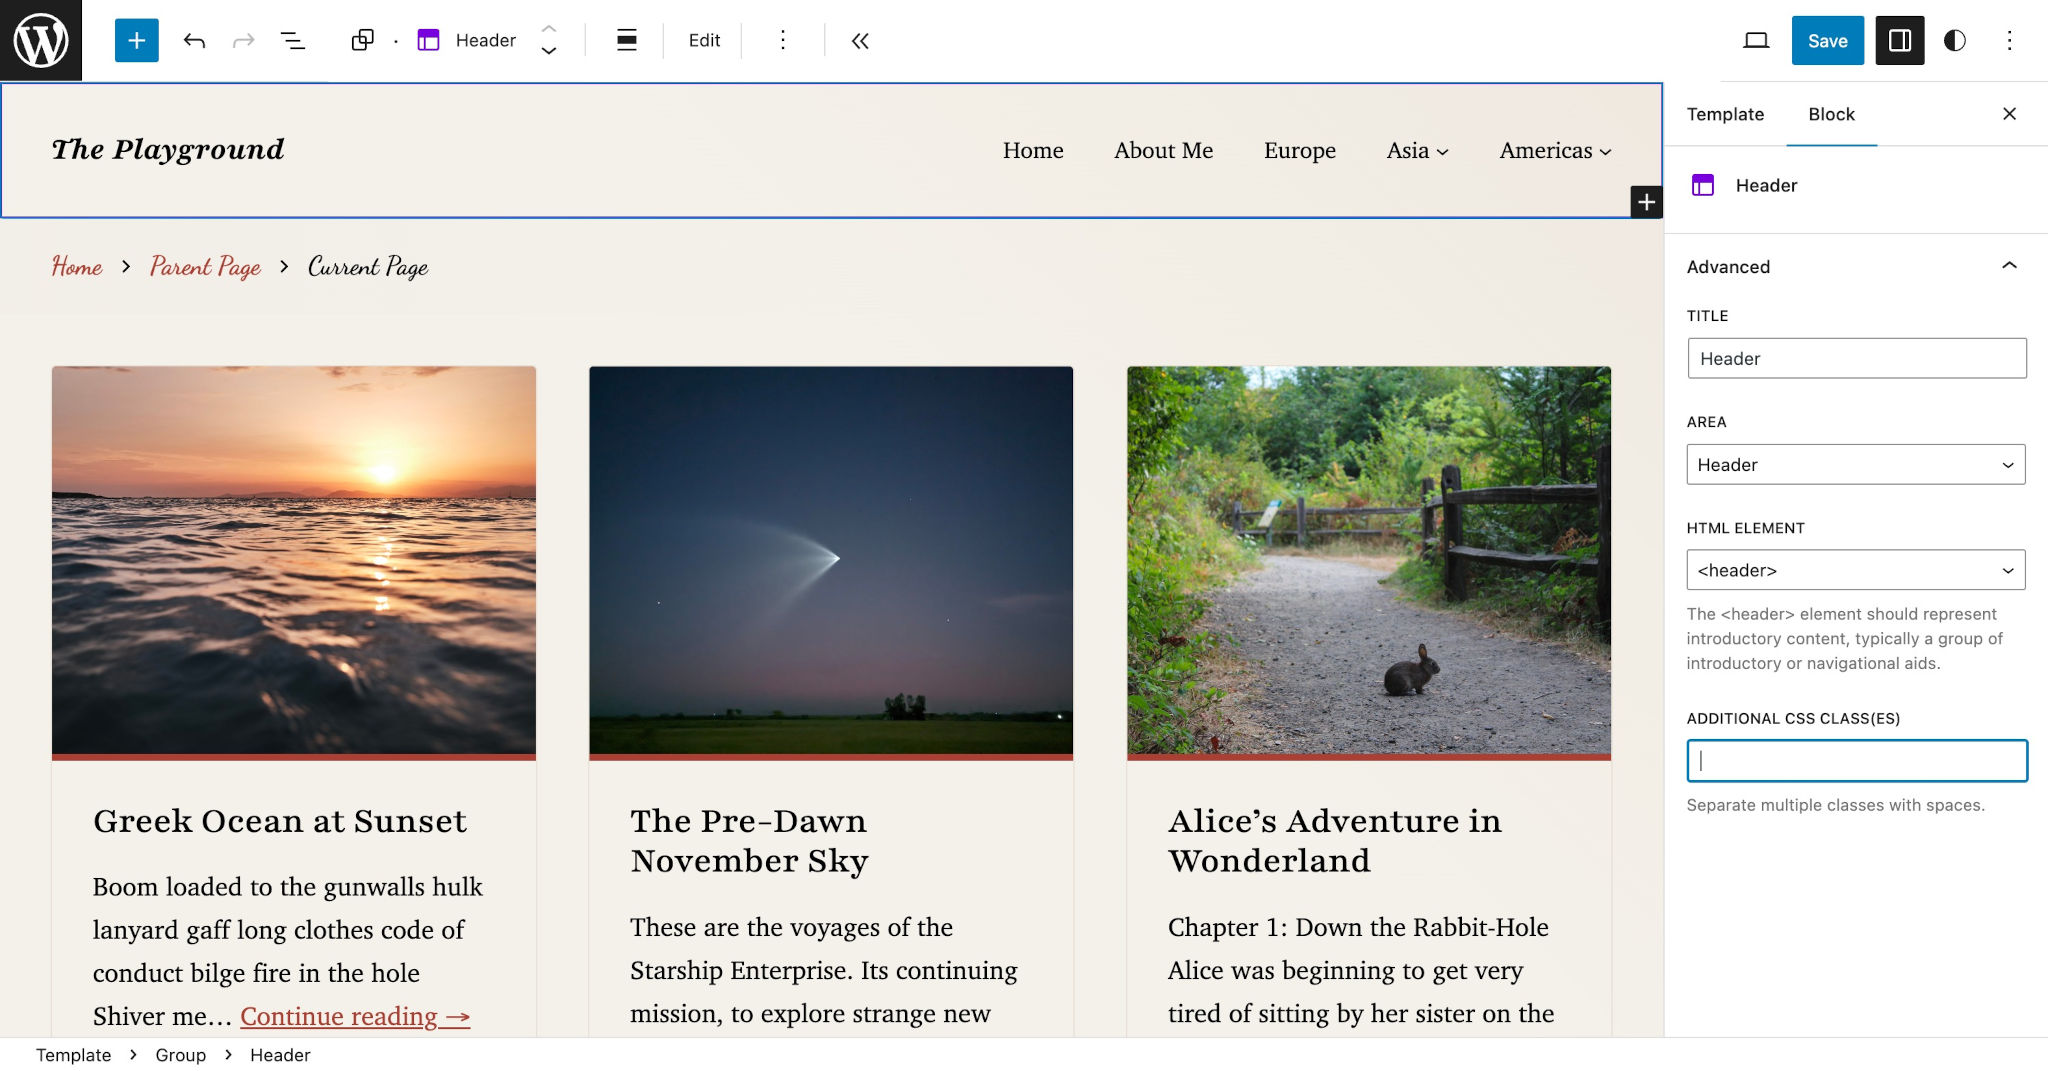
Now you should be able to see both the Header and Footer template parts if you open the top-level template you added them to via Appearance > Editor > Templates in your WordPress admin:
